FASHION DOLL
LOVESEAT
Crochet pattern courtesy
of Crochet 'N' More
Click below to learn more about CNM:
http://www.crochetnmore.com
Copyright, January 12, 2013
Tisa Enterprises, All Rights Reserved
To print a new copy
visit:
http://www.crochetnmore.com/fashiondollloveseat.html
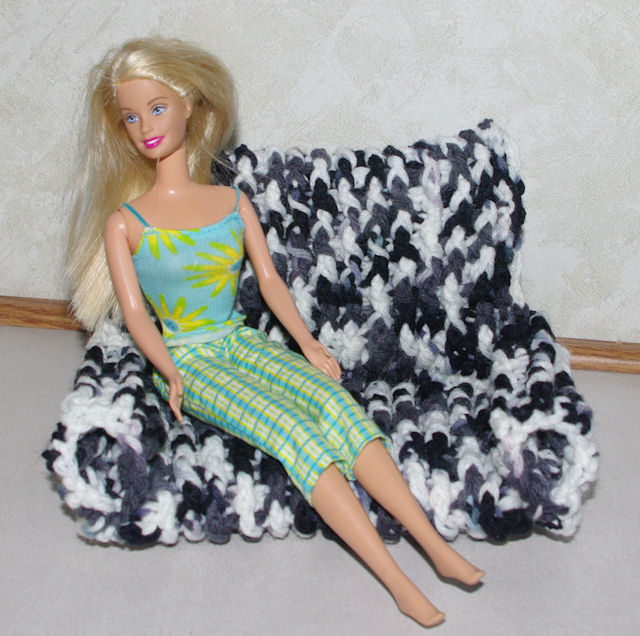
5" front to back
5-1/2" top to bottom
7-1/2" side to side
|
The
following pattern is my original design.
Please only copy or print this pattern for personal use.
Please contact me if you find any errors.
MATERIALS:
Keepsake Sayelle - 4ply worsted weight (Charcoal Ombre, less than 5 ounces)
Note: Any 4ply worsted weight acrylic yarn similar to
Red Heart Supersaver will work fine for this pattern.
H Hook
Stitches: ch, dc, bpdc, fpdc, sc.
Difficulty:
DIFFICULT
LARGE PANEL - MAKE 2
(These are the seat and the back of the loveseat)
R1: Ch31, dc in the 4th ch from the hook. Dc in ea rem ch. (29dc)
R2: Ch3, turn (counts as 1dc). Fpdc around the next st.
(Bpdc around next st. Fpdc around next st.) across to last st.
Dc in last st. (29 sts)
R3: Ch3, turn (counts as 1dc). Bpdc around next st.
(Fpdc around next st. Bpdc around next st.) across to last st.
Dc in last st.
Alternate Rs2&3 for a total of 20 rows.
Fasten off.
SMALL PANEL - MAKE 2
(These are the arms for the loveseat)
R1: Ch16, dc in the 4th ch from the hook. Dc in ea rem ch. (15dc)
R2: Ch3, turn (counts as 1dc). Fpdc around the next st.
(Bpdc around next st. Fpdc around next st.) across to last st.
Dc in last st. (15 sts)
R3: Ch3, turn (counts as 1dc). Bpdc around next st.
(Fpdc around next st. Bpdc around next st.) across to last st.
Dc in last st.
Alternate Rs2&3 for a total of 10 rows.
Fasten off.
OPTIONAL
If you want the loveseat to be firmer you can stuff the large panels before seaming the ends together.
ASSEMBLY
Prepare Large Panels
Fold each large panel separately with the first and last rows tog.
Sc cor sts tog along that edge. (Referred to as Long Side)
(If you want to stuff your loveseat to make it firmer, do it now before closing the ends)
Align cor posts of dcs along the row ends and place 2sc in ea sp to close each end.
Join both Large Panels
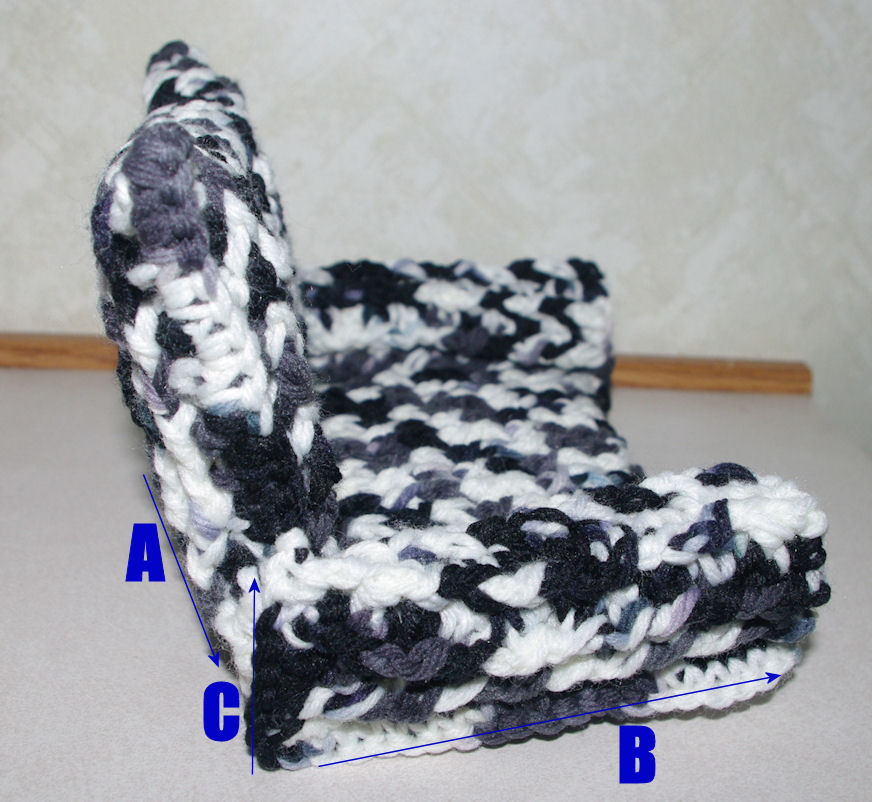
Hold both Long Sides together and join by working a sc in cor sts. (See Photo Above - Point A along bottom edge)
Prepare Small Panels
Small panels are folded opposite of the large panels (instead of first and last rows being joined together, these will have the row ends joined). Fold each small panel with row ends aligned. Align cor posts of dcs along the row ends and place 2sc in ea sp to join.
This will look like a tube. The end of each tube at the front of the loveseat stays open (I just like how that looks). The end close to the back of the loveseat will be closed as it is joined to the stitches along the side of the back panel.
(See Photo Above - Point C)
Joining Small Panels (Arms)
Align the seam of one arm with the side seam on one end of the loveseat and join by working a sc in each cor set of sts.
(See Photo Above - Point B)
Join the end of the Arm closest to the back of the loveseat in the same manner, aligning stitches and securing with sc sts. (See Photo Above - Point C)
Repeat for other Arm.
HAPPY CROCHETING